The Step-by-Step Roof Installation Process Explained for Homeowners
A stage-by-stage walk through what the crew does on your roof, so nothing on installation day catches you off guard.
September 30, 2026 · 4 min read
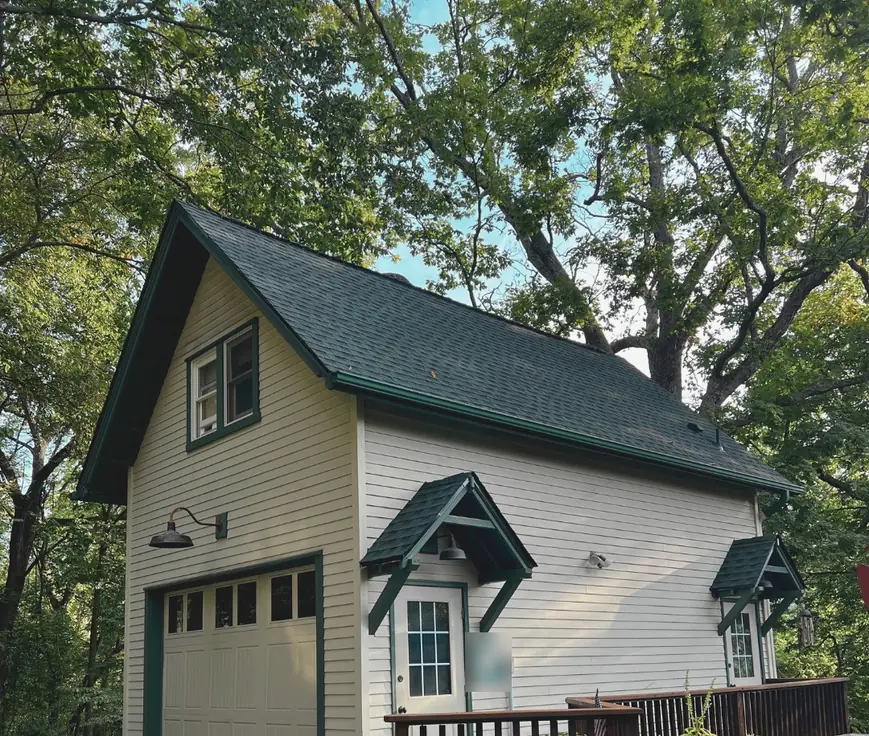
Once the contract is signed, a new roof still feels abstract until the trucks pull up and the work begins. Knowing the order of the day takes some of the mystery out of it. This walk-through follows a typical shingle replacement from the first bundle off the truck to the final sweep of the yard. Details shift with the home, the weather and the material, but the sequence holds for most jobs.
What should you do before the crew arrives?
A little preparation protects your belongings and keeps the day moving. Move vehicles out of the driveway so materials can be staged close to the house. Take pictures and mirrors off upstairs walls, since hammering sends vibration through the framing, and cover anything stored in the attic, because dust and old granules can sift through gaps in the deck. Trim back shrubs near the foundation if you can, and tell your neighbors that a noisy day is coming. Pets do better away from the house.
It also helps to settle the small choices ahead of time: shingle color, the finish on metal trim, and where the dumpster or trailer should sit. Decisions made on the spot tend to be rushed ones.
How does tear-off work?
Tear-off is the first stage and the loudest. The crew works from the top down, lifting old shingles, underlayment and nails with flat shovels and dropping the debris into a trailer or onto tarps. A careful crew lays protection over landscaping, air conditioning units and siding first, and runs a magnetic sweeper across the yard afterward, because stray nails are a hazard to tires and bare feet.
Some homes carry more than one layer of old roofing. Stripping everything to the deck is usually the better path, since it lets the crew see what is underneath instead of building on top of a problem. Laying new shingles over old ones hides moisture damage and adds weight.
Why does the deck check matter?
With the old roofing gone, the plywood or boards underneath are exposed. This is the moment that separates a thorough job from a hurried one. The crew looks for soft spots, dark staining, splits and sagging between the rafters. Rot usually starts where a small leak went unnoticed, around a chimney, a plumbing vent or the low end of a valley.
Damaged sections are cut out and replaced with new decking, and loose panels are nailed down tight. A good roofer shows you what was found instead of adding a surprise to the paperwork later, and any change to the scope should be discussed with you before the work goes ahead. Everything else fastens to the deck, so this stage earns its attention.
Underlayment, drip edge and flashing
Next comes the protection you will never see again. Underlayment goes over the deck as a second line of defense against wind-driven rain, and self-adhering membrane is often used where leaks are most likely: valleys, eaves and around penetrations. Drip edge is fastened along the eaves and rakes so water leaves the roof cleanly instead of curling back under the edge and rotting the fascia.
Flashing gets its own attention. Chimneys, skylights, sidewalls, vent pipes and valleys are where most leaks begin, and the metal pieces that seal those joints must be shaped and lapped so water always flows over a seam and never into it. Old flashing that looks fine is sometimes reused to save time, but replacing it while the roof is open is the sensible move.
How are the shingles, ridge and ventilation finished?
Shingle installation starts at the bottom edge and works upward in straight courses, each row overlapping the one below so water always sheds downhill. Nails matter as much as the shingles. They need to be driven flush, in the right position on each shingle, and in the number the manufacturer specifies. Nails set too high or too hard can leave a shingle ready to blow off in a storm.
At the peak, the crew installs ridge cap over a ridge vent, or over the existing vent system if the attic airflow is already balanced. Ventilation deserves a look on every replacement. An attic that cannot breathe holds heat in summer and moisture in winter, and both wear a roof down from the inside.
What does clean-up and the final walk-through include?
When the last ridge cap is set, the crew cleans up and you should be invited to look over the result. A few things are worth checking together:
- Even courses and clean lines across every slope, with no gaps or crooked rows
- Flashing sealed and tight at every chimney, vent, skylight and wall
- Gutters free of debris and shingle scraps
- Lawn, beds and driveway swept, including a magnet pass for loose nails
- Any extra decking or repairs discussed and written down
Look at the roof from the ground, with binoculars if you have them, and never climb up yourself. If something looks off, point it out while everyone is still on site. Keep your paperwork from the job in a folder with your home records.
If your roof is due for replacement and you want to talk through the process, call Iron Shield at (479) 337-4766. Estimates are free.
Iron Shield Roofing & Restoration, (479) 337-4766
Call (479) 337-4766More articles
How to Inspect Your Roof for Winter Damage
You can spot most winter roof damage without leaving the ground, if you know what to look for and where.
Step-by-Step Guide to Preventing Ice Dams on Your Roof
Most ice dams trace back to heat escaping into the attic, which means the best fixes happen inside the house.